How to Enroll Android POS Terminals for a New Store
Choose QR or Android zero-touch enrollment, prepare a store profile, and verify the first checkout before handing devices to store staff.
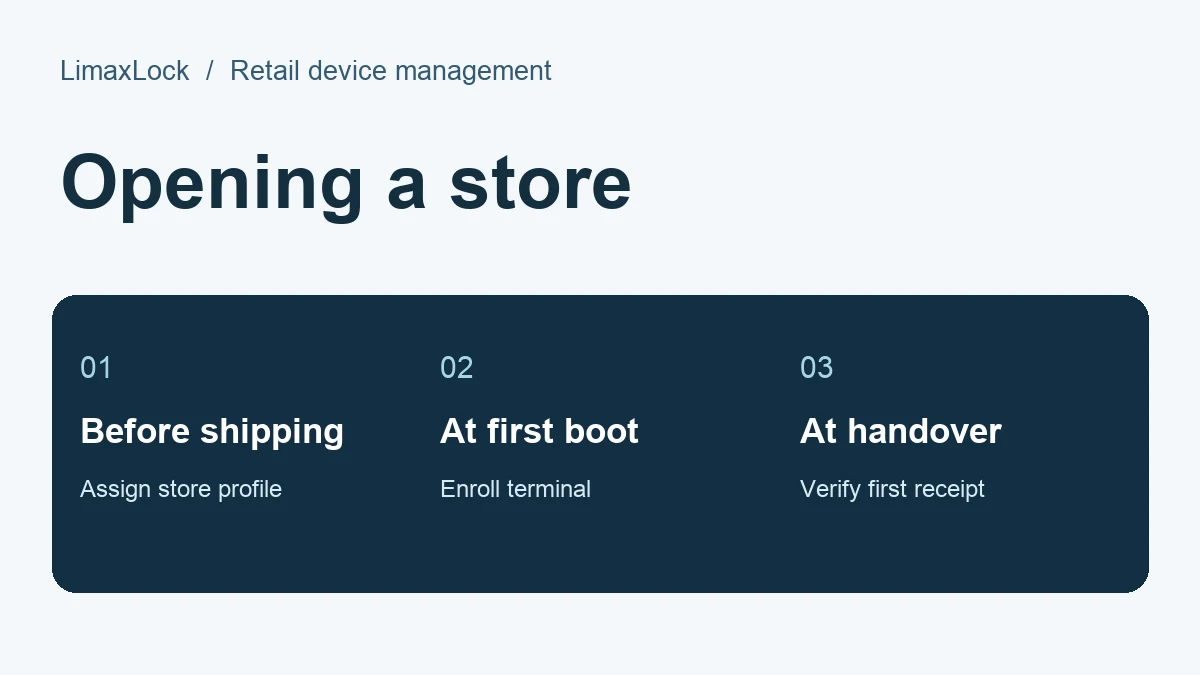
For a new store, prepare the Android device profile before the hardware arrives. Choose QR enrollment if someone can set up each terminal on site. Consider zero-touch when eligible devices can be registered by a participating reseller and shipped directly to the store.
QR code or Android zero-touch enrollment?
| QR enrollment | Zero-touch enrollment | |
|---|---|---|
| Before dispatch | Prepare the enrollment code and nominate a setup contact. | Confirm eligible models, reseller registration and the assigned configuration. |
| At the store | A person scans the code during supported device setup. | The terminal needs internet access during initial setup to retrieve its configuration. |
| Good pilot | A few spare devices with a technician available. | A representative device from the actual reseller shipment. |
Ask the reseller to confirm that the shipment appears in your organization’s zero-touch account. Match the device identifier and configuration before sending it to a remote store. Google documents the prerequisites and account roles in its zero-touch enrollment guide.
Prepare one profile for the first lane
In your Android device management configuration, identify the store group, approved POS app, enrollment method, kiosk mode and Wi-Fi requirements. Arrange an initial internet connection that works before managed Wi-Fi settings arrive. Confirm the store contact can reach support during setup.
Set aside one device with the same model, Android build and accessories as the shipment. Record its identifier and intended store. If two stores use different apps or networks, give the pilot the configuration for its actual destination.
Enroll the first terminal and test the checkout
- Start the new device using the selected enrollment method. Verify its identifier appears in the intended store group.
- Allow the approved app and restrictions to apply. Check the installed version, launch the POS app and restart the spare terminal to confirm it returns to the correct workflow.
- Have the opening team scan an item, use the approved test checkout and print a receipt. Record which scanner, printer and payment peripheral were connected.
- Confirm the network reconnects and the MDM console shows a fresh last-seen time. Record any manual steps so the next store can repeat them.
What if the terminal enters ordinary Android setup?
For zero-touch, first check initial connectivity, reseller registration and assignment of a configuration to the correct identifier. For QR, confirm that the code belongs to the intended enrollment configuration and that the device supports the chosen setup flow. Resolve the mismatch on the pilot before opening the rest of the shipment.
Hand the store a usable acceptance record
For each lane, record the device identifier, profile, installed POS version, peripheral test result and owner of any open issue. Capture setup time from power-on through the first successful test checkout. That measured time helps the next store plan staffing and opening-day support.
Use the retail hardware pilot checklist for repeat deployments and the POS app update guide for subsequent releases.